STEP 1
Installing Metamask
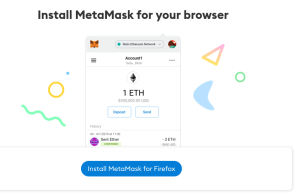
Available as a browser extension and as a mobile app, MetaMask equips you with a key vault, secure login, token wallet, and token exchange—everything you need to manage your digital assets.
a. To add the browser extension, go to the Metamask website and click on the install metmask for your browser link.
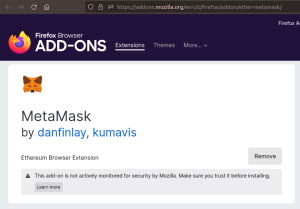
b. Depending on the browser it will take you to the add extension page of your browser.
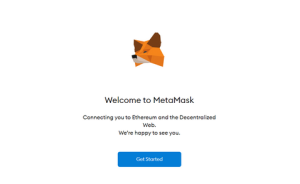
c. One you finish adding the extension, you can get started
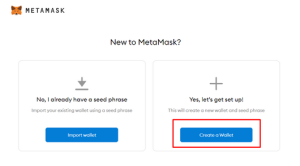
d. This is the first time creating a wallet, so click the Create a Wallet button. If there is already a wallet then import the already created using the Import Wallet button.
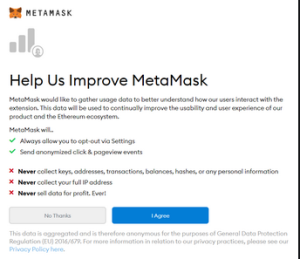
e. Click I Agree button to allow data to be collected to help improve MetaMask or else click the No Thanks button. The wallet can still be created even if the user will click on the No Thanks button.
f. Create a password for your wallet. This password is to be entered every time the browser is launched and wants to use MetaMask. A new password needs to be created if chrome is uninstalled or if there is a switching of browsers. In that case, go through the Import Wallet button. This is because MetaMask stores the keys in the browser. Agree to Terms of Use.
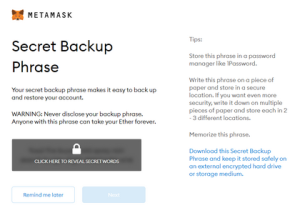
g. Click on the dark area which says Click here to reveal secret words to get your secret phrase.
h. This is the most important step. Back up your secret phrase properly. Do not store your secret phrase on your computer. Please read everything on this screen until you understand it completely before proceeding. The secret phrase is the only way to access your wallet if you forget your password. Once done click the Next button.

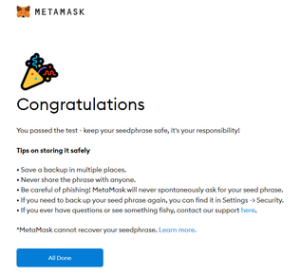
i. Click the buttons respective to the order of the words in your seed phrase. In other words, type the seed phrase using the button on the screen. If done correctly the Confirm button should turn blue.
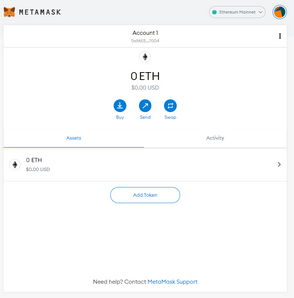
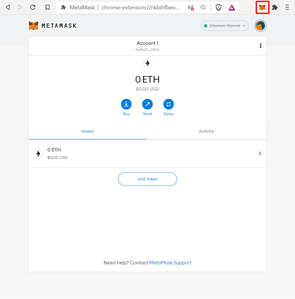
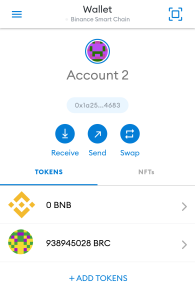
k. You can see the balance and copy the address of the account by clicking on the Account 1 area.
l. You can access MetaMask in the browser by clicking the Foxface icon on the top right. If the Foxface icon is not visible, then click on the puzzle piece icon right next to it.
STEP 2
Connecting Metamask to BSC
Configuring the Wallet
You might notice straight away that we’re still dealing with an Ethereum wallet. At best, this won’t work with Binance Smart Chain DApps. At worst, you could lose funds by sending them to addresses you can’t actually use.
a. Let’s change that. We want to access the Settings to point the wallet towards Binance Smart Chain nodes.
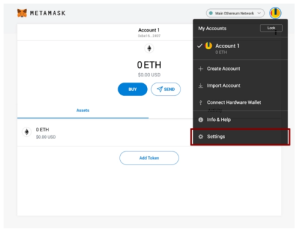
b. On the Settings page, we want to locate the Networks menu.
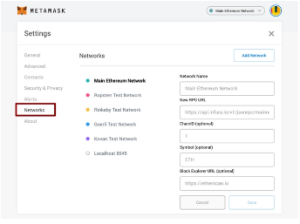
c. We want to click Add Network in the top-right corner to manually add the Binance Smart Chain one – it doesn’t come packaged with MetaMask. It’s important to note that there are two networks we can use here: the testnet or the mainnet. Below are the parameters to fill in for each.
Mainnet
Network Name: Smart Chain
New RPC URL: https://bsc-dataseed.binance.org/
ChainID: 56
Symbol: BNB
Block Explorer URL: https://bscscan.com
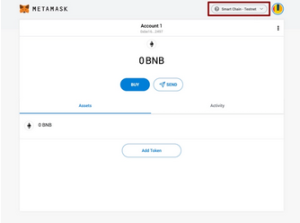
d. Once you Save the Network and return to the main view, you’ll notice two things: the network has automatically been set to the one you just entered, and the units are no longer denominated in ETH, but in BNB.
STEP 3
Adding Custom Token (BRC)
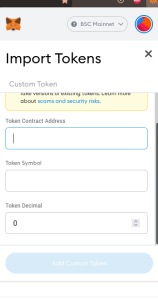
a. Once you have configured your wallet to the BSC, click on the Import tokens button
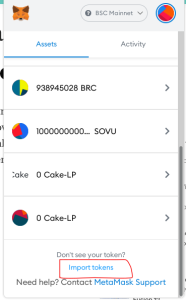
b. Enter (copy-paste) the token contract address for BRC → 0xee0913f8723a1a88a3673c67e13e77be1bef3c7b
-
Token Symbol should self populate, if it doesn’t enter BRC
-
Token Decimal should self poulate, if it doesn’t enter 18
-
Click on the Add Custom Token Button and the token will be added. You will see a 0 balance.
c. Copy the Wallet address and share to receive BRC
Recent Comments